Cursor
With Cursor support, Harness CDE enables seamless and efficient remote development in your Gitspaces within your Cursor IDE. This enables you to use Cursor and agentic AI features to enhance your remote development experience.
This guide provides a step-by-step walkthrough to help you use Cursor with your Gitspaces. Let’s get started!
Getting started with Cursor IDE
Follow these steps to get started with integrating Cursor IDE into your Gitspaces workflow:
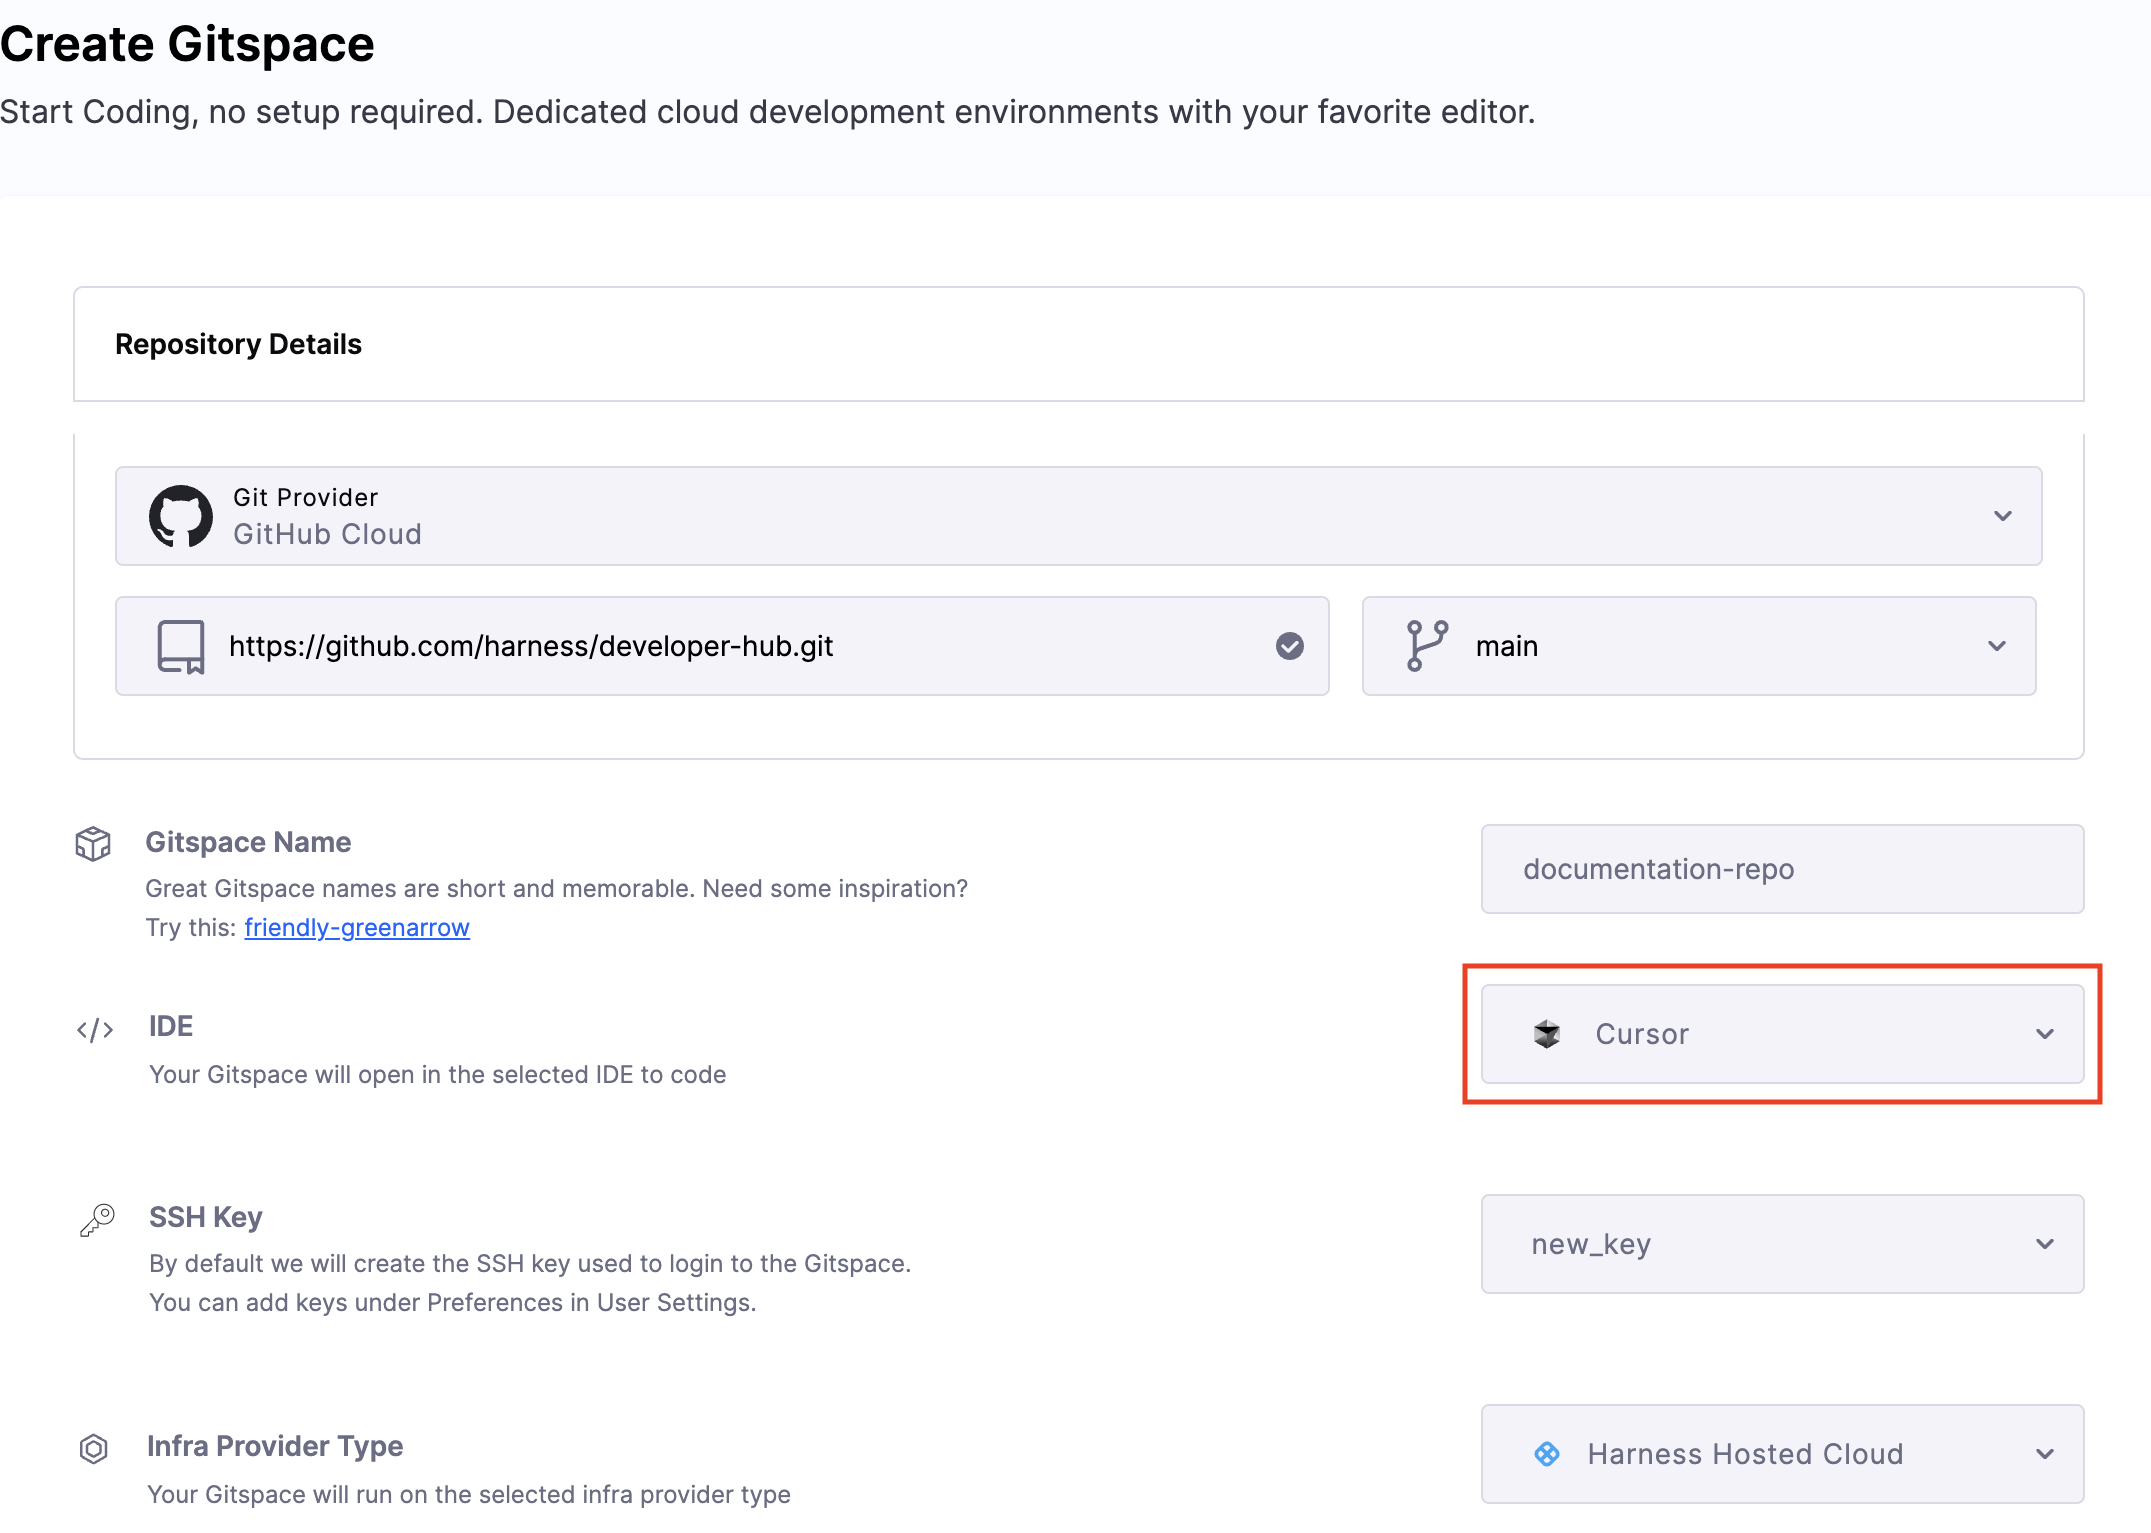
Create a Gitspace
-
Navigate to the Harness UI and create a new Gitspace for your project repository.
-
Select "Cursor" as the IDE during Gitspace creation.
-
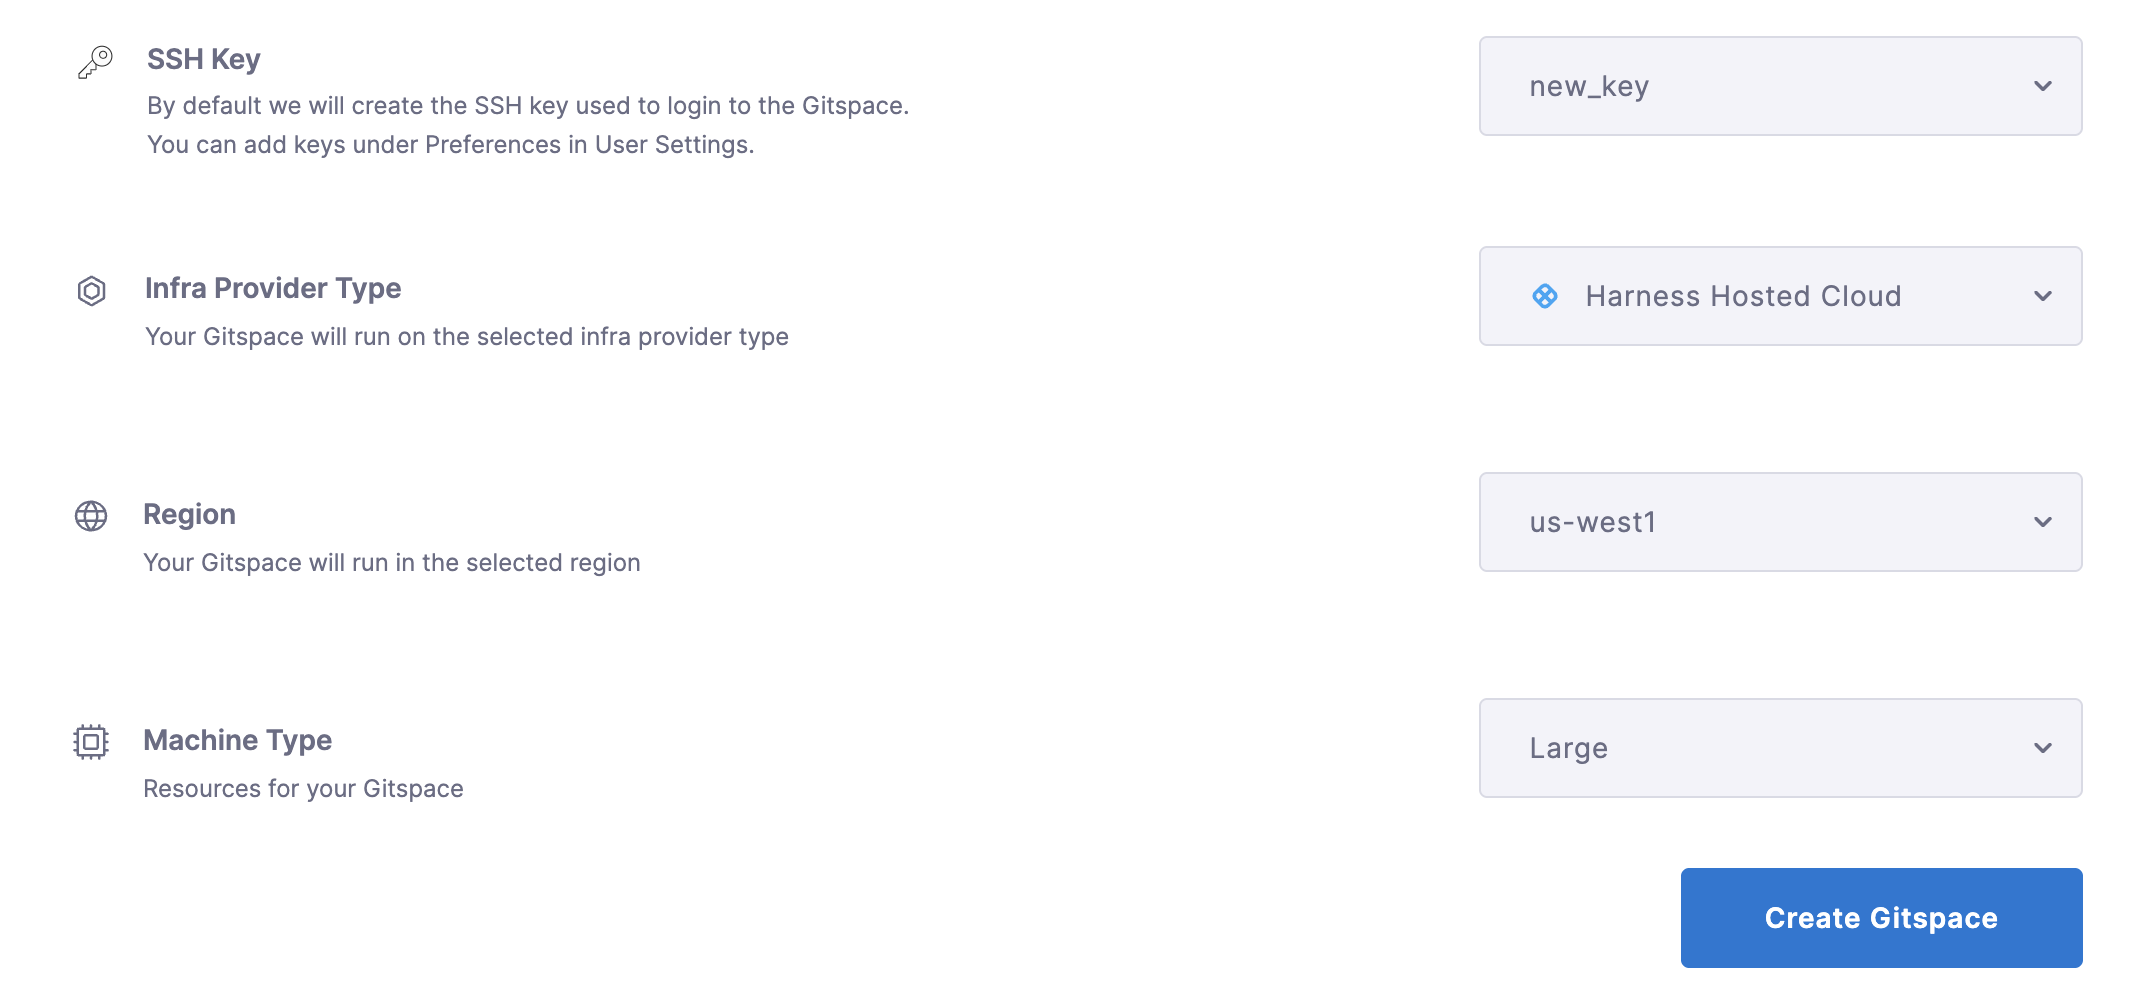
Add your SSH key and configure the required Gitspace specifications.
-
Click "Create Gitspace".
Open the Gitspace in Cursor
-
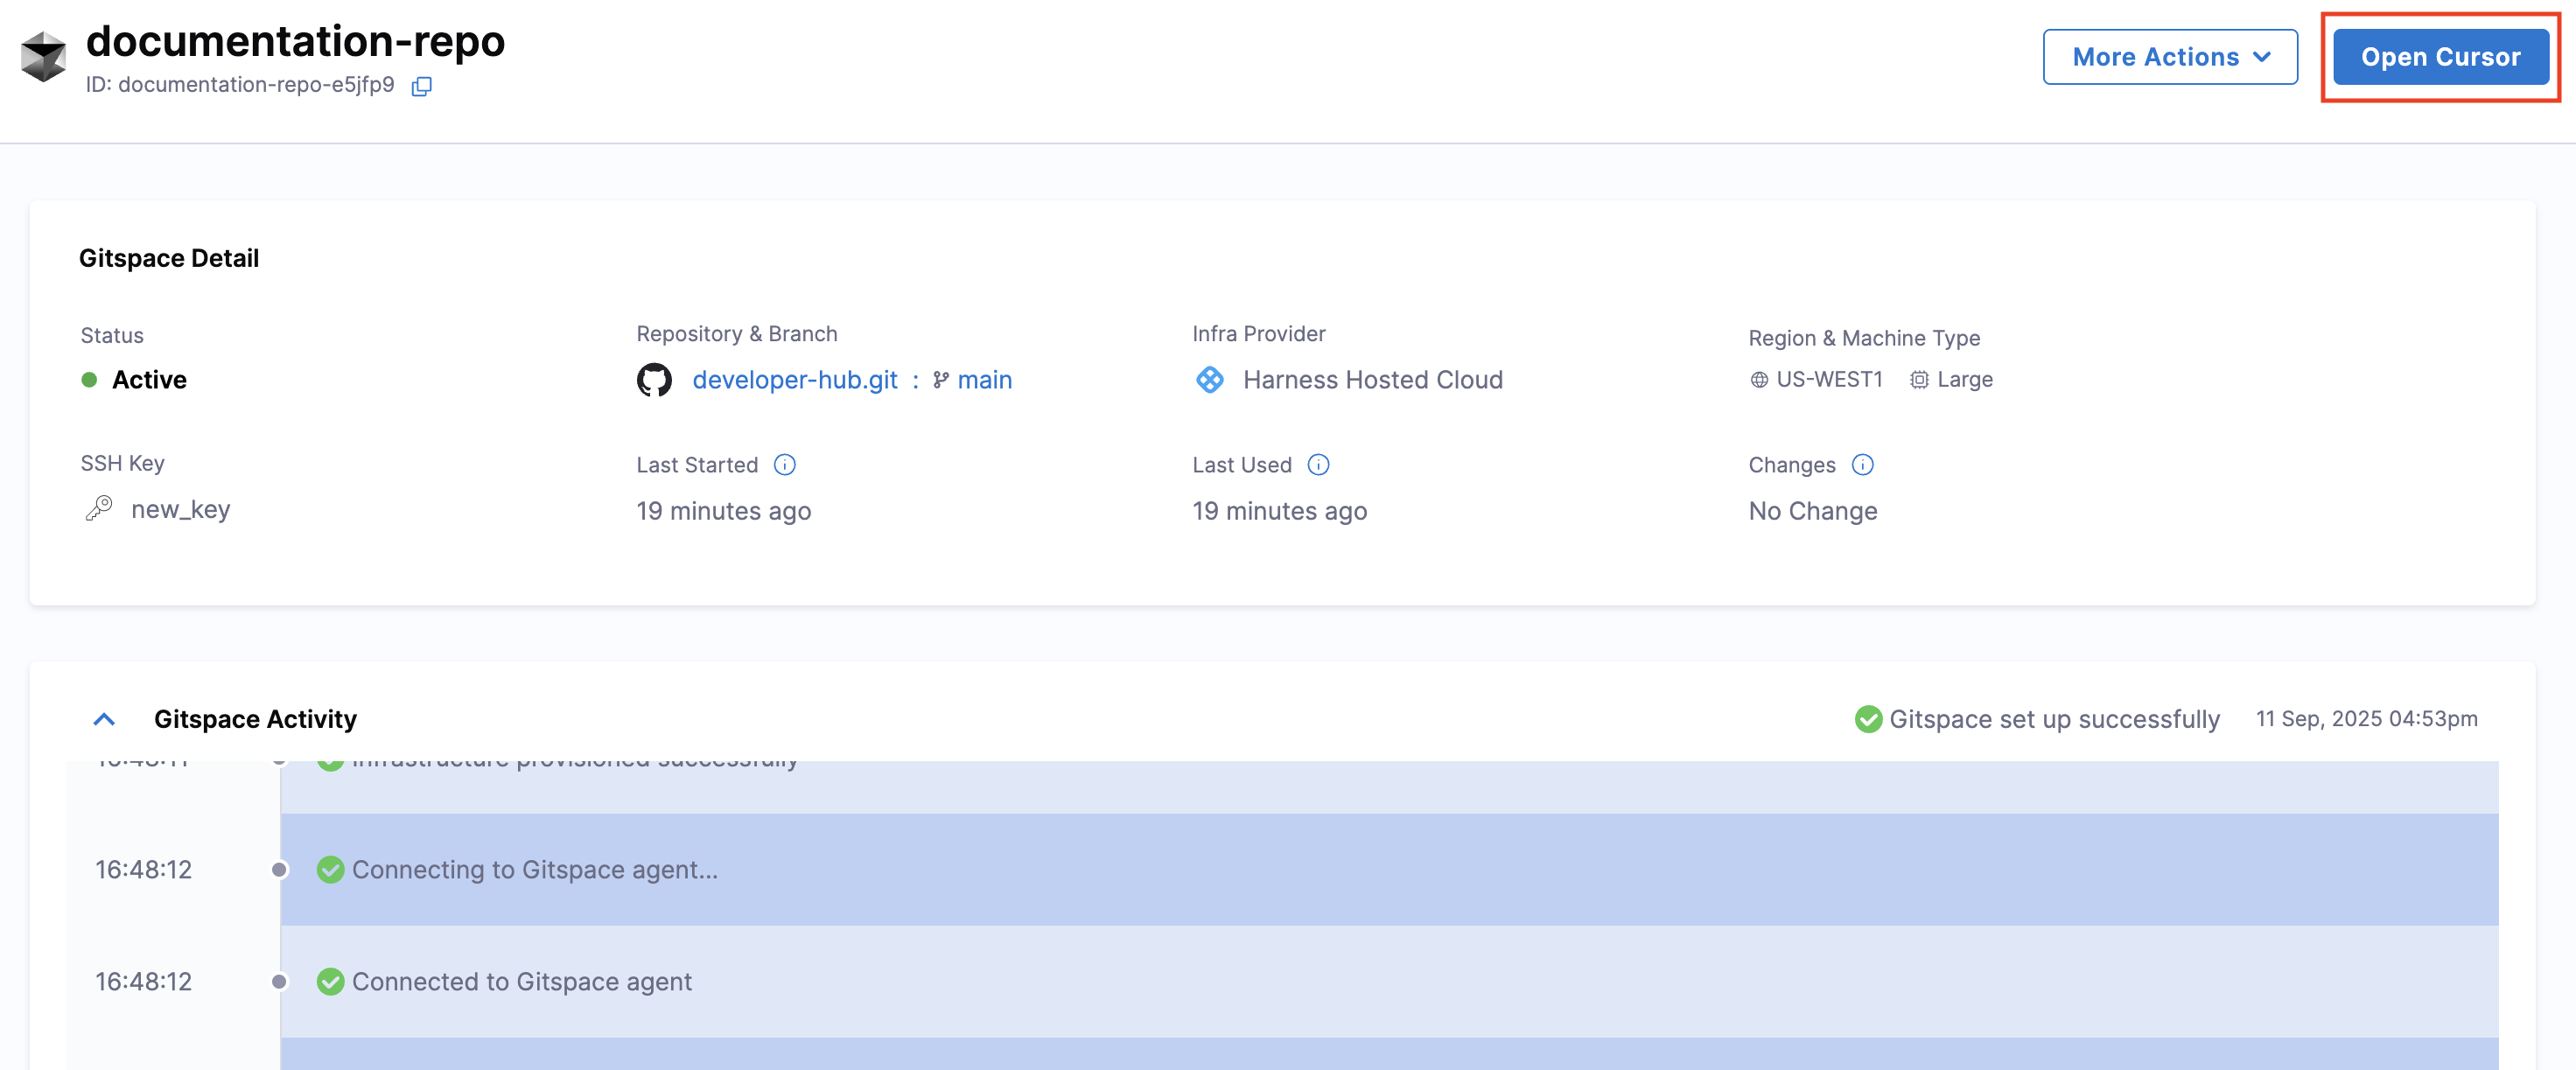
Once the Gitspace is created and running, click on the "Connect to Cursor" button.
-
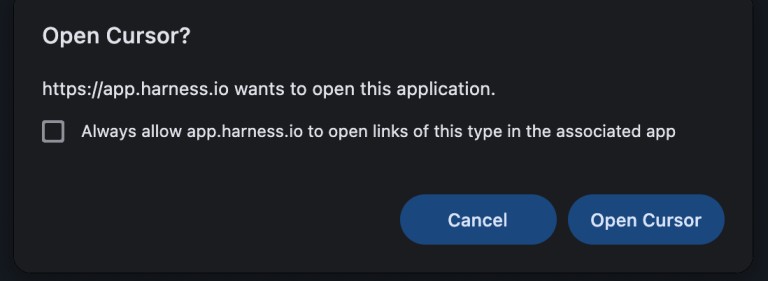
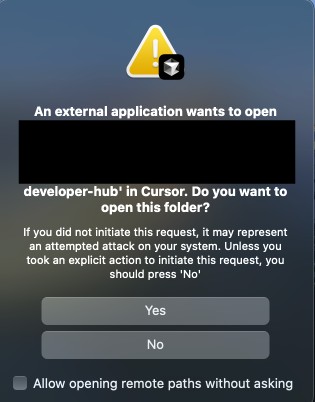
A prompt will appear requesting permission for
app.harness.ioto open Cursor and establish a connection. Click on Open Cursor.
-
You'll be asked to give permission to establish a connection with a remote server. Click on Yes. Your Windsurf IDE will open.
-
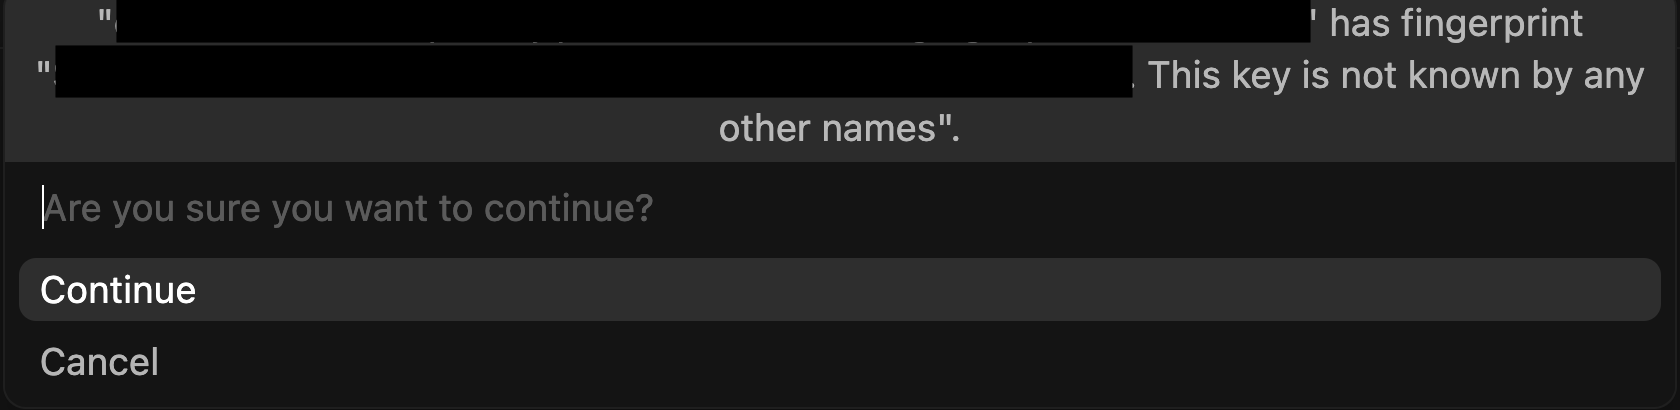
You'll be required to confirm the given SSH key can be used to connect, type yes in the text box and click Enter.
-
And that's it! You're all set to start working on your Gitspace directly within Cursor.
Setup Complete
Once the setup completes, your Gitspace will be successfully connected to Cursor IDE. Congratulations! You are now ready to work on your Gitspace directly within Cursor.
